
Right now, our blog page from last part is missing an image for each post. Let’s add that with the Image element using the <img> tag. We can use an image stored on our computer or an image from the internet.
I have prepared some images from unsplash.com to use it for each blog post.
Insert Image From the Same Location
Extract the images and add the weekend.jpg image to the blog folder (same location as the index.html file).
mySite/
|-- blog/
|   |-- weekend.jpg   <-- newly added
|   `-- index.html
`-- index.html
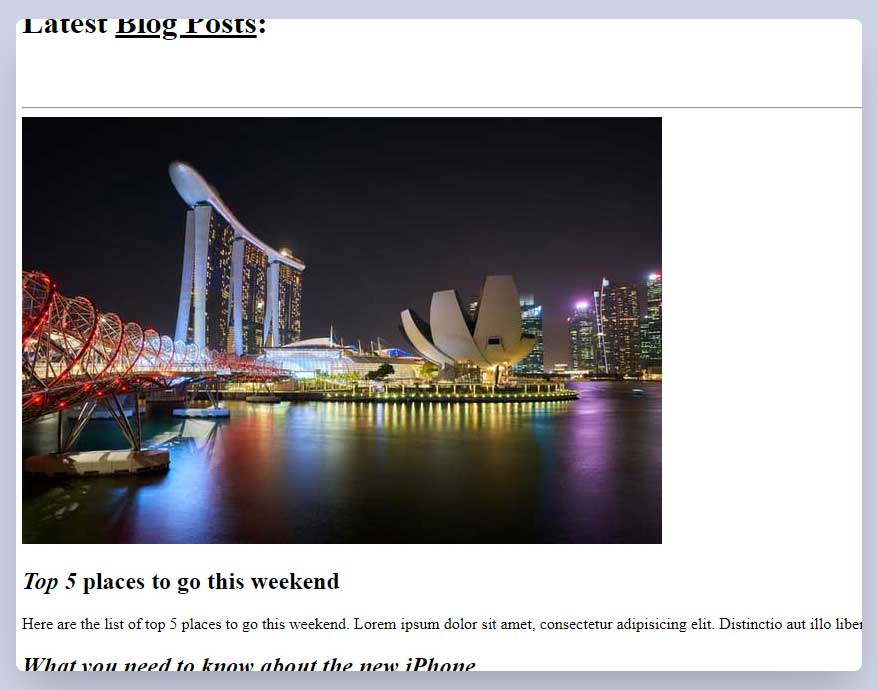
In the index.html file, we want to embed the weekend.jpg image just before the <h2> tag for the first blog post. We can add the image element by the <img> tag. The <img> tag is a self closing tag.
<img>
But how can we tell the <img> tag about the path to the image? We need to give some additional information to the image element about the image path so that the image element can access the image location and display it on the page.
HTML Attributes:
Attributes provide additional information to the elements in the starting HTML tags. Most of the time they are like name-value pairs. We can use the src attribute on the image element and that represents the source/path to the image location. I will type src="" inside the <img> tag. The attribute here is the src which represents the source of the image and its value is what goes inside the quotations "".
The location/path for the weekend.jpg image is the same as the index.html file which we want to call it from. That’s why we only need to write the full name of the file weekend.jpg with its file extension (.jpg).
<!-- Image located in the same directory/folder -->
<img src="weekend.jpg">
Save the file and check the result by refreshing the page or if you have the live server extension installed like me, open the file with live server.
Insert Image From a Subfolder
Create a new folder inside the blog folder called images and add the iphone.jpg image to this new folder.
mySite/
|-- blog/
|   |-- images/   <-- newly added folder
|   |   `-- iphone.jpg   <-- newly added
|   |-- weekend.jpg
|   `-- index.html
`-- index.html
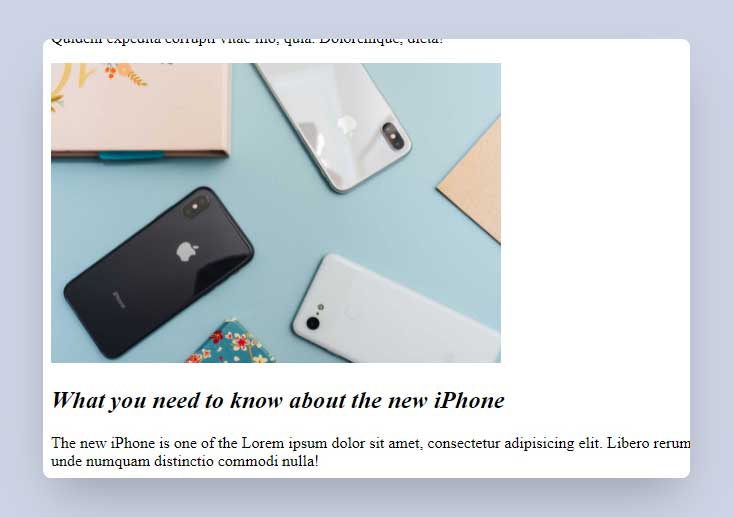
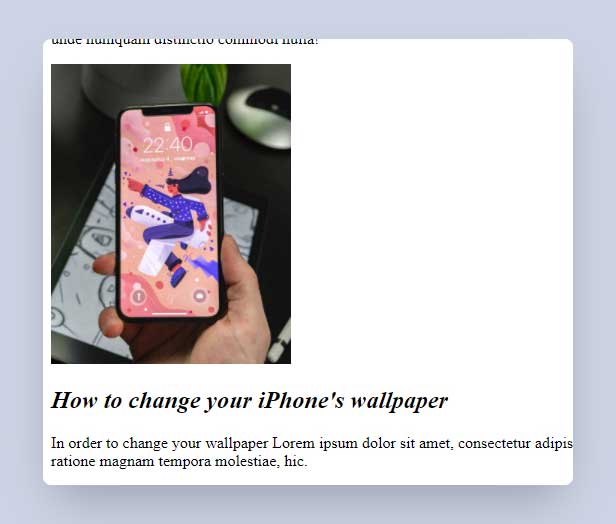
For the second image, let’s add the <img> tag before the <h2> heading of our second blog post. But this time the iphone.jpg image is not located in the same folder/directory as our index.html file. The image is located in the folder images and the name of the image is iphone.jpg. For that, we need to have the src attribute value set to images/iphone.jpg.
<!-- Image located in the images directory/folder -->
<img src="images/iphone.jpg">
Save the file and check the result and we can see that we get our image for the second blog post.
The / in front of the "images" means that the "images" part is a folder name. We can navigate deeper if we have our file located in a more nested folder like images/products/bag.jpg and that means to get the image bag.jpg from the products/ folder located inside the images/ folder.
Resize Images Using Attributes
The image for our second blog post is very large and we can resize the image using two new attributes called width and height. The values that we can set for the width and height are in pixels. I will set both values to 300 and save the file.
<img src="images/iphone.jpg" width="300" height="300">
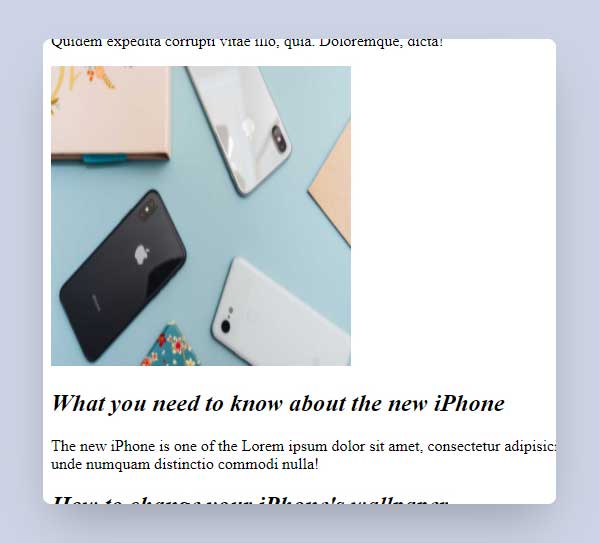
Because our image was wide and we try to set the width and height to the same value, the image did not keep its aspect ratio. To fix that, we just need to define one side of the image that is more important for us. I will set the height to be 300 all the time and I will not set any value for the width.
<img src="images/iphone.jpg" height="300">
Save the file and check the result.
As you can see, the image height is now 300 pixels and the width have changed automatically according to the aspect ratio of the image.
Insert Image From a Parent Folder
Add the wallpaper.jpg image to the root of the project (mySite folder).
Here is our folder structure:
mySite/
|-- blog/
|   |-- images/
|   |   `-- iphone.jpg
|   |-- weekend.jpg
|   `-- index.html
|-- wallpaper.jpg   <-- newly added
`-- index.html
The wallpaper.jpg image is located in the root folder of the project which is the parent directory relative to the file that we are editing now (blog/index.html).
Before the <h2> heading tag for the third blog post, add a new <img> tag. For the src attribute to go back a folder, we need to add ../ and then write our file name wallpaper.jpg. I will also add the height attribute and set its value to 300.
<!-- Image located in the parent directory/folder -->
<img src="../wallpaper.jpg" height="300">
Save the file and check the result.
So the ../ means that at first, navigate back one level to a higher parent directory. If we want to navigate back twice, we can do that by adding another ../ at the beginning of the path (../../filename.jpg).
There is another way to define an image path relative from the root folder meaning that it will start from the root path (mySite folder) no matter how many folders deep our HTML file is located. To do that we need to place a / before our path.
Change the src attribute value for the third blog post to /wallpaper.jpg.
<img src="/wallpaper.jpg" height="300">
Save the file and check the result. You notice that the result is the same as before.
The / at the beginning means that start from the root of the website (mySite folder). If we want to apply the same solution to our second blog post’s image, we can replace the src attribute value to /blog/images/iphone.jpg.
<img src="/blog/images/iphone.jpg" height="300">
Similar to the wallpaper example, the image src attribute start from the root folder and from there, it goes to blog/images/ folder to get the iphone.jpg image.
Insert Image From the Internet
For the last image, I want to use a link to an image from the internet. Here is an image link that I found on freepik.com:
https://image.freepik.com/free-photo/flat-lay-business-concept_53876-24738.jpg
Add a new <img> tag before the last blog post and set the src attribute value to the link of the image:
<!-- Image from the Internet -->
<img src="https://image.freepik.com/free-photo/flat-lay-business-concept_53876-24738.jpg">
Save the file and check the result:

The alt Attribute
There is another important attribute that we need to add to the images and that is the alt attribute. The alt attribute will help us to have an alternate text for the images if there is a problem in displaying them.
Here is the final code for each of the images for the blog posts:
<img src="weekend.jpg" alt="Weekend Image">
<img src="/blog/images/iphone.jpg" height="300" alt="Image of the iPhone">
<img src="../wallpaper.jpg" height="300" alt="Wallpaper">
<img src="https://image.freepik.com/free-photo/flat-lay-business-concept_53876-24738.jpg" alt="Business Software">
Before saving the file, I am going to change the first image path to an invalid path and then save the file.
<!-- Invalid src value for the first image  -->
<img src="invalid-source" alt="Weekend Image">
Notice that because the image path is incorrect, we see the alternate text instead of showing nothing or showing an error.
I will change the image path back to what it was before and save the file.
<img src="weekend.jpg" alt="Weekend Image">
And that’s it! All of the blog posts have an image now.