This post is the beginner’s guide on how to install Tailwind CSS using the Tailwind CLI. There are many ways you can install Tailwind CSS and it all depends on what kind of project you are working on.
Before we get started, there are a few points you might need to know:
-
If you want to try Tailwind CSS, Tailwind Play and Play CDN are the quickest way you can get your hands dirty
-
When installing Tailwind CSS on a framework, there might be some differences. Check the framework guides section to find the installation for your framework.
-
TLDR: https://tailwindcss.com/docs/installation
¯\_(ツ)_/¯
Install Tailwind CSS using Tailwind CLI
The first thing we need is npm. NPM is a package manager for JavaScript. Think about a package manager as a way you can manage other people’s code inside your project. The reason we need it is to be able to use the tailwindcss package in our project.
Install Node.js and npm
To have npm, we need to install it through installing Node.js. First, we need to check if we have Node.js and npm installed. Open the command prompt (or PowerShell/Terminal/etc.), and enter the following:
node -v
If the system shows you the version number for node, then you already have node installed. You can do the same to verify npm installation:
npm -v
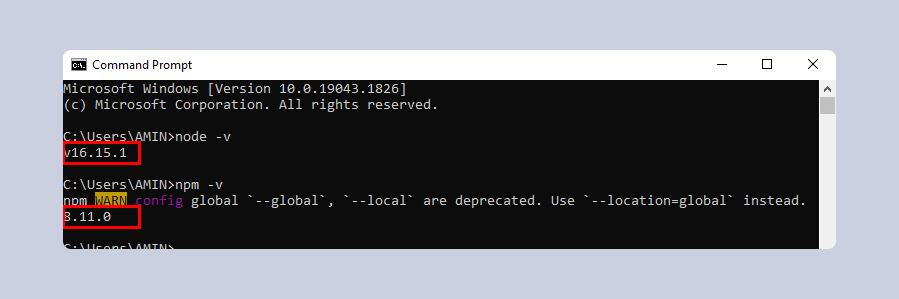
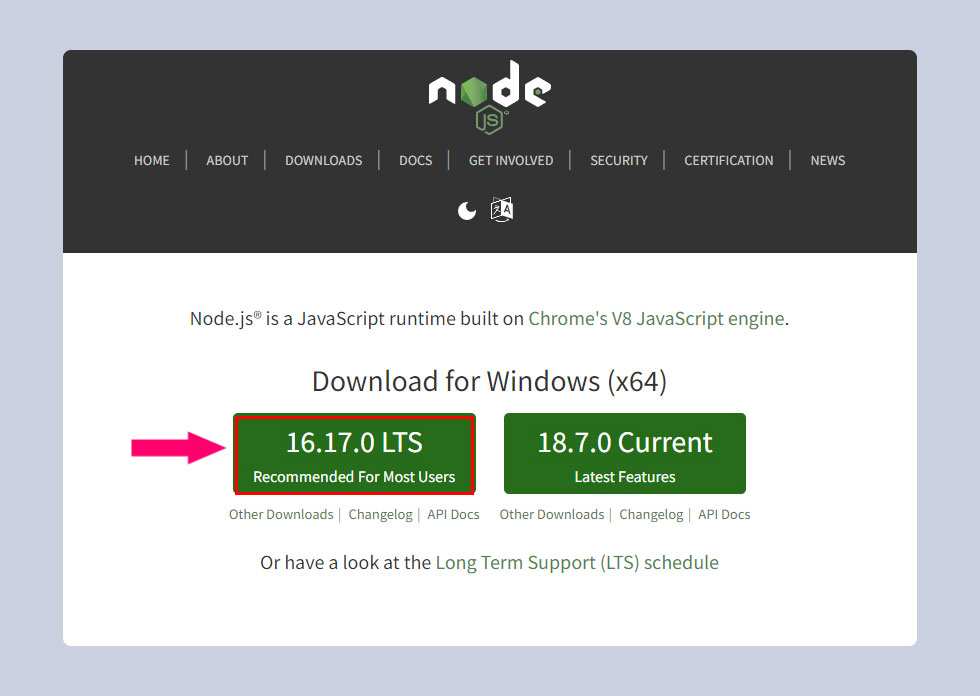
If you don’t get the version number for node and npm, then you need to install Node.js. Go to nodejs.org and depending on your Operating System, install the LTS version.
Create the Project Directory
Inside the desktop, create a folder called website. Inside the website folder, create a folder called src which we will use to store our website files.
website/
`-- src/
Install tailwindcss package
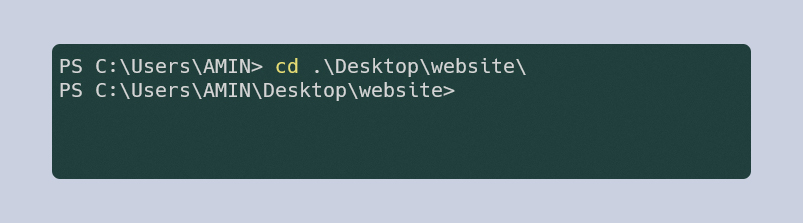
Using the command prompt, go to the project directory (website folder). In my case I will enter cd .\Desktop\website:
Enter the following to install the tailwindcss package:
npm install -D tailwindcss
The first two words npm install will use npm to install a package. The flag -D tells npm to only install the package in development and not in production. The last part tailwindcss is the package name.
If we open the project folder in VS Code, there is a new folder called node_modules. node_modules folder is where all the external packages will be saved. If we look into the folder, we can see that there is a tailwindcss folder that contains the tailwindcss code. The good news is that we do not change anything in this folder and all changes happen with npm commands.
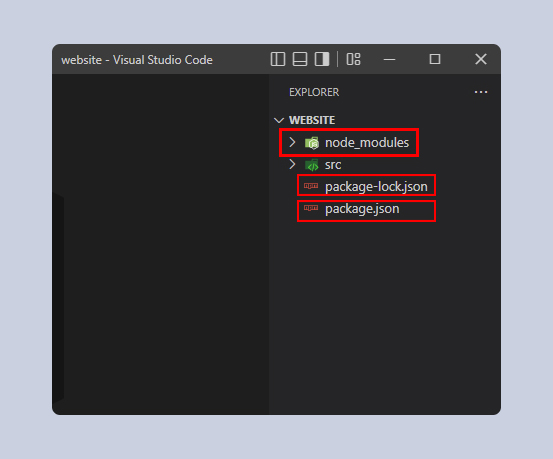
The files package.json and package-lock.json are also created. package.json file contains information about the project with the packages it uses. package-lock.json contains the packages with the exact version numbers installed.
Tailwind CSS Config File
Next, create a Tailwind CSS config file using the following command:
npx tailwindcss init
npx is similar to npm but we use it to execute packages. The command we ran, created a new config file called tailwind.config.js. The config file contains a boilerplate of the Tailwind CSS configuration. Inside the config file, we have a JavaScript object with a few properties.
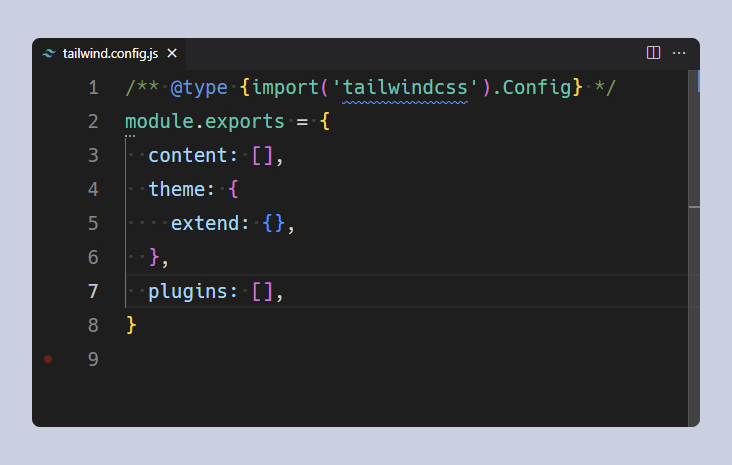
We can configure a lot of things with the config file. For now, the only important part of the config file is the content property. The content property is the way to tell tailwindcss what files to look for when it wants to build our CSS file.
So in our case, we want tailwindcss to scan all .html files inside the src folder. The syntax for that will be the string "./src/**/*.html". Let’s break down the path so that you know what is going on here:
.: Start from the current path/folder (the root of the project)/src: Look inside thesrc/folder/**/: Look within all subfolders within the parent folder (src/)*.html: The files we want are files with any name (*) but with.htmlfile extension only.
So here is the final code of our config file:
/** @type {import('tailwindcss').Config} */
module.exports = {
  content: ["./src/**/*.html"],
  theme: {
    extend: {},
  },
  plugins: [],
}
Tailwind CSS directives
Directives are different parts of Tailwind CSS. We can also register new directives with the use of plugins. Three main directives are:
base: Injects Tailwind CSS base styles and registered plugins' stylescomponents: Injects Tailwind CSS component classes and registered plugins' component classesutilities: Injects Tailwind CSS utility classes and registered plugins' utility classes
Inside the src/ folder, create a file called style.css. The name of the file does not matter. Tailwind CSS uses this file as input to build the actual CSS file that contains the CSS styles we need.
Inside the style.css file, add the Tailwind CSS directives:
@tailwind base;
@tailwind components;
@tailwind utilities;
Building The CSS File
Using the command prompt enter the following:
npx tailwindcss -i ./src/style.css -o ./src/css/main.css
Let’s break it down:
npx tailwindcss: Executes the build command-i ./src/style.css: The flag-itells thetailwindcsspackage what is theinputfile (./src/style.css)-o ./src/css/main.css: The flag-otells thetailwindcsspackage what is theoutputfile (./src/css/main.css)
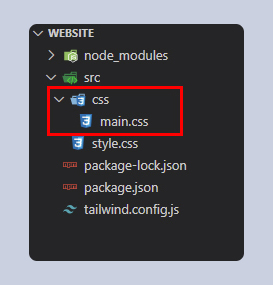
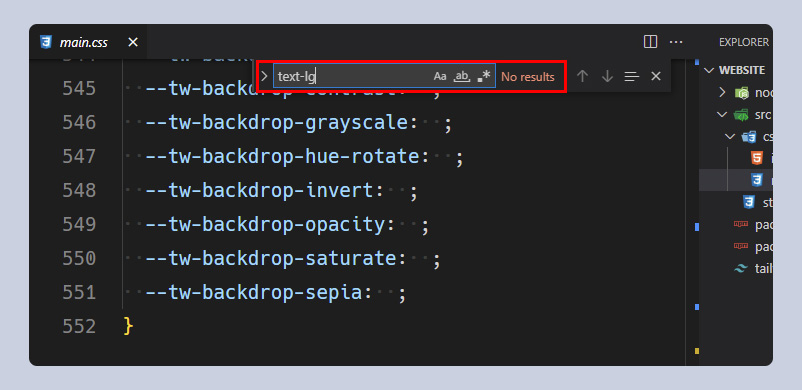
Check the project files and we can see that our main.css file got built. This is the file that we will import into our HTML file. Right now, the main.css only contains the base styles. This is because we do not have any HTML page for Tailwind to scan and add the used component or utility classes.
Use the Tailwind CSS Output File in HTML
Inside the src/ folder, create a file called index.html. Import the main.css file and add a simple button with some Tailwind CSS classes to test:
<!DOCTYPE html>
<html lang="en">
  <head>
    <title>Tailwind CSS</title>
    <link rel="stylesheet" href="css/main.css">
  </head>
<body>
  <button class="text-lg text-red-500 bg-red-200">CodeProMax</button>
</body>
</html>
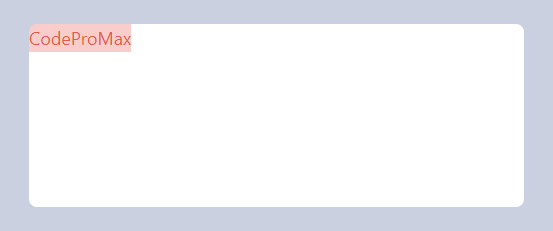
Save the file and check the result. If you have the live server extension installed like me, you can open the file with the live server.
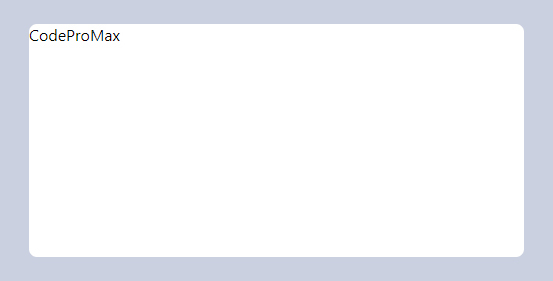
The button did not get any of the styles we applied to. If we check the main.css file, we can see that it does not contain the utility classes we applied to the button. This is because every time we make a change to the classes, Tailwind CSS needs to build the main.css file with the latest update.
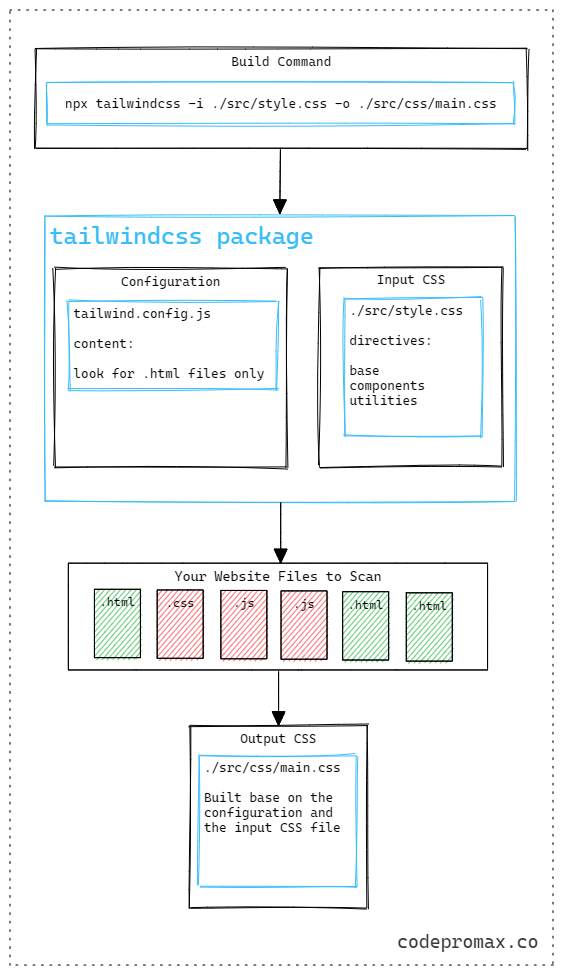
To understand the process better, here is how Tailwind CSS works:
To generate the classes we need to run the build command again:
npx tailwindcss -i ./src/style.css -o ./src/css/main.css
If we check the page now, we can see that our button has got the styles applied to:
Running the same build command for every change is not a good flow. We can automate that by adding the --watch flag to the build command. So here is the build command with the watch flag:
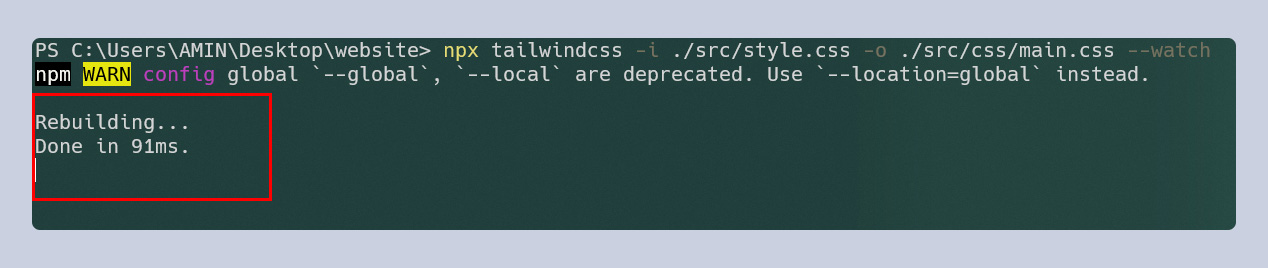
npx tailwindcss -i ./src/style.css -o ./src/css/main.css --watch
You can notice that the command prompt did not finish or stop and it is still active. The watch flag keeps the command prompt active and “watches” the files for any change. Once it detects a change, it will run the build command automatically.
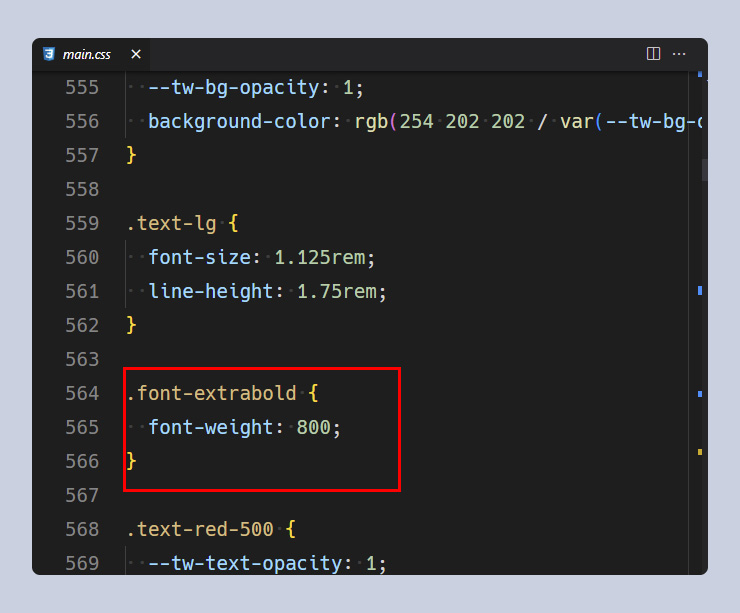
While the command prompt is still active, let’s add a new class font-extrabold to the button:
<!DOCTYPE html>
<html lang="en">
  <head>
    <title>Tailwind CSS</title>
    <link rel="stylesheet" href="css/main.css">
  </head>
<body>
  <button class="text-lg text-red-500 bg-red-200 font-extrabold">CodeProMax</button>
</body>
</html>
Save the file, refresh, and we can see the new changes.
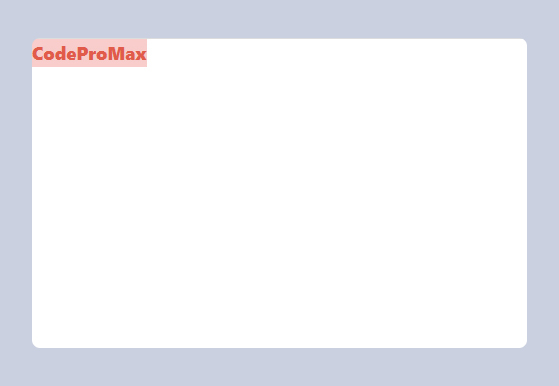
If you check the mian.css file, we can see that the class font-extrabold is now added to the file.
Tailwind CSS Flow
The things we covered in this post are not your everyday flow using Tailwind CSS. Most of the time you run the build command with the watch flag, and continue working on your project.